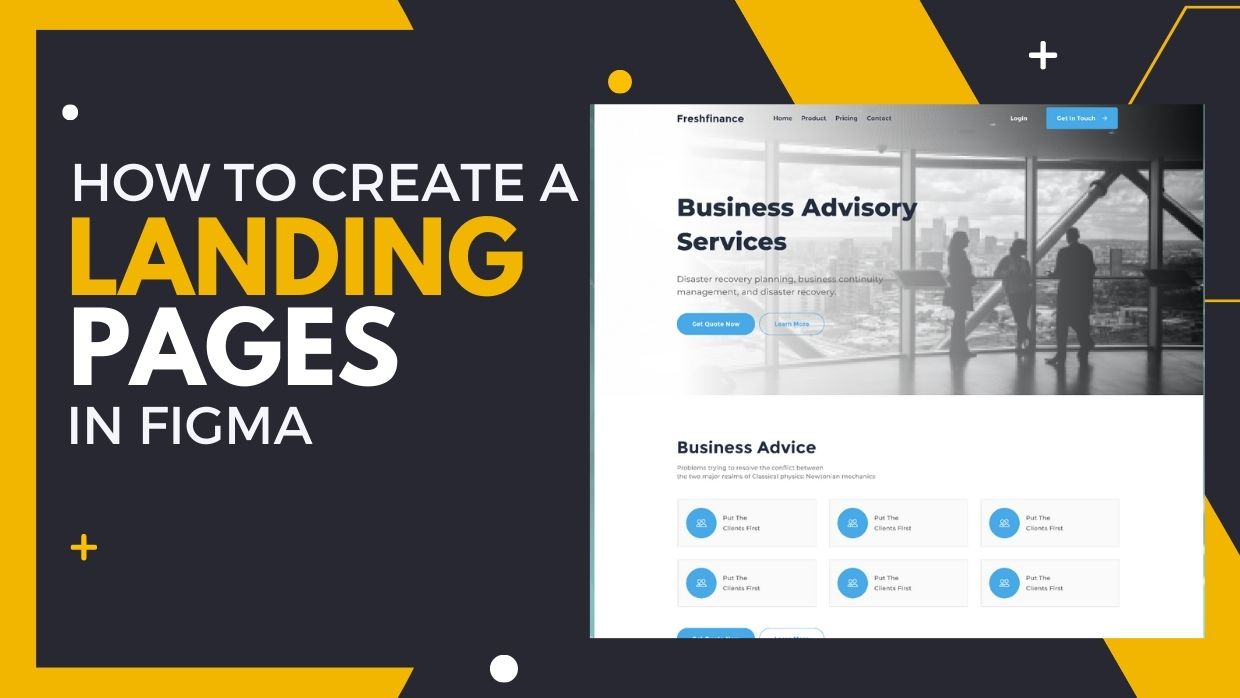
How to Create a Landing Page in Figma
In this blog post, we’ll show you “How to Create a Landing Page in Figma”. Are you tired of creating mediocre landing pages that fail to convert visitors into customers? Do you want to boost your online presence and drive more traffic to your website? Look no further! With our step-by-step guide, even beginners can design a professional-looking page that engages and converts their target audience. So get ready to unleash your creativity and take your digital marketing game to the next level with Figma!
Overview of Figma and its Benefits

Figma is a cloud-based vector graphics editor and prototyping tool. It is free to use and available on Windows, macOS, and Linux.
Figma has gained popularity in recent years as an alternative to Adobe Photoshop and Illustrator for designing user interfaces, websites, and icons. Figma is also used by many companies for its collaboration features, which allow multiple people to work on the same file at the same time.
Benefits of using Figma include:
- Figma is free to use
- Figma files can be easily exported to PNG, JPEG, or SVG formats
- Figma has a built-in library of icons, photos, and other design elements
- Figma’s collaboration features make it easy for teams to work together on projects
- Figma is easy to learn and use, with a simple but powerful interface
- Figma has an extensive library of plugins to extend its functionality
- Figma has built-in tools for prototyping and testing designs
What is a Landing Page?
A landing page is a web page that serves as the entry point for a website or a particular section of a website. It is the first page that visitors see when they arrive at a website. A typical landing page contains a headline, a subheading, and one or more call-to-action buttons.
The purpose of a landing page is to persuade visitors to take a specific action, such as filling out a form or making a purchase. Landing pages are often used in marketing campaigns, such as email campaigns or pay-per-click advertising.
Creating a landing page in Figma is easy and can be done in just a few steps:
- Create a new frame and add the desired content.
- Add a call-to-action button.
- Publish the frame to your team’s Figma account.
- Share the link to your landing page with your audience.
Setting Up Your Figma File
Creating a new Figma file is simple. Just click on “File” in the top left corner, then “New File” from the dropdown menu. This will open up a blank canvas for you to start working on your design.
When you’re starting a new project, it’s important to think about the overall structure of your design and how different elements will be laid out on the page. For a landing page, you’ll likely want to have a header area at the top, followed by a section for your main content, and then a footer area at the bottom.
Once you’ve got a basic layout in mind, it’s time to start adding some content to your file. If you’re not sure where to start, take a look at some existing landing pages for inspiration. Think about what kind of information you need to include on your page and how you want it to be laid out.
Once you’ve got some content added, it’s time to start thinking about styling. This is where Figma really shines, as it offers a wide range of built-in tools for creating beautiful designs. Take some time to experiment with different colors, fonts, and other styling options until you find something that looks great.
And that’s it! With just a few simple steps, you can create an awesome landing page design in Figma.
Designing the Page Structure
When it comes to designing a landing page in Figma, the most important thing is to get the page structure right. This means creating a clear and easy-to-follow hierarchy that will guide users through your content and help them find what they’re looking for.
Here are a few tips for structuring your landing page:
- Use clear and concise headings and subheadings to break up your content and make it easy to scan.
- Organize your content into sections with distinct purposes. For example, you might have a section for features, another for testimonials, and another for a call-to-action (CTA).
- Make use of whitespace to break up sections of content and make them more visually appealing.
- Use imagery sparingly but strategically to add visual interest and break up text-heavy sections.
- Pay attention to the overall layout of your page and how each element is positioned in relation to others. Everything should be easy to find and understand at a glance.
By following these tips, you can create a well-structured landing page that will help convert visitors into leads or customers!
Read more… How To Create High-Converting Landing Pages In 10 Simple Steps
Styling and Animating UI Elements
When it comes to styling and animating UI elements in Figma, there are a few things you need to keep in mind. First of all, Figma uses a combination of vector and raster graphics, which means your styles will be applied to both the vector and raster portions of your UI elements.
Secondly, Figma supports a wide range of animation types, so you can really get creative with how you animate your UI elements. And lastly, Figma’s design team has put together a great set of resources that can help you get started with styling and animating UI elements in Figma. So, what are some things you can do to style and animate your UI elements in Figma?
Here are just a few ideas:
- Use different colors to highlight different parts of your UI element.
- Experiment with different opacity levels to create depth and interest.
- Use gradients to add dimensionality to your UI element.
- Utilize shadows and highlights to give your UI element more character.
- Animate your UI element using one of Figma’s many animation types.
Styling and animating UI elements in Figma is a great way to add personality and pizzazz to your user interface designs. So go ahead and experiment with the different styling and animation options available in Figma – you might be surprised at what you can create!
Adding Interactions and Animations
Adding interactions and animations to your landing page can really help it stand out and make it more engaging for users.
Here are a few tips on how to do this in Figma:
- First, you’ll want to add any hotspots or clickable elements to your design. You can do this by selecting the frame or element you want to make interactive and then going to the Interactions panel in the right sidebar.
- Next, you’ll need to specify what action should happen when the hotspot is clicked. You can choose from a variety of options like linking to another page, opening a popup, playing an animation, etc.
- Once you’ve added all the desired interactions, you can add animations to further engage users. To do this, select the element you want to animate and then go to the Animations panel in the right sidebar.
- From here, you can choose what type of animation you want to apply as well as customize its timing, duration, and other properties.
Read more… How To Create a Landing Page For Lead Generation
Testing & Publishing the Landing Page
Assuming you have already designed and built your landing page in Figma, the next step is to test and publish it. There are a few things to keep in mind when testing your landing page:
- Make sure all of the links on your page are working correctly. This includes any buttons or CTAs that you may have included.
- Test the form submission process to ensure that information is being properly collected and stored.
- Pay attention to load times, especially if you have included any large images or videos on the page.
- Check for any spelling or grammar errors – this can be a major turn-off for potential customers!
Once you’ve gone through and checked everything, it’s time to publish your landing page. The best way to do this is to use a hosting platform like WordPress or Squarespace. These platforms make it easy to get your landing page online quickly and with minimal hassle.
Read more… What is Landing Page in Google Ads
Conclusion
Once you have created your landing page in Figma, you can easily make it look professional and attractive. With a little bit of creativity and knowledge, you will be able to create an effective landing page that captures the attention of your audience. Don’t forget to also consider user experience when designing the page as this will help ensure visitors stay on your site longer and increase conversions. With these tips in mind, we hope creating a landing page in Figma is now easier for you!